Building Your Own PC, part 3 – Assembling the Pieces
by Richard White
2011-07-04
So, you’re building your own computer, and you’ve received shipments from Amazon and newegg.com that contain the components that you’ve so carefully selected. Those boxes are piled up in some corner of the apartment, and you’ve managed to set aside a few hours in your schedule during which you can get to work assembling everything into a working computer.
Be aware that this process may take no more than an hour if you know what you’re doing. In my case it took several days of here-and-there work, and that’s not including the week I had to wait for my replacement CPU to come in.
Yeah. There was a replacement CPU that had to arrive.
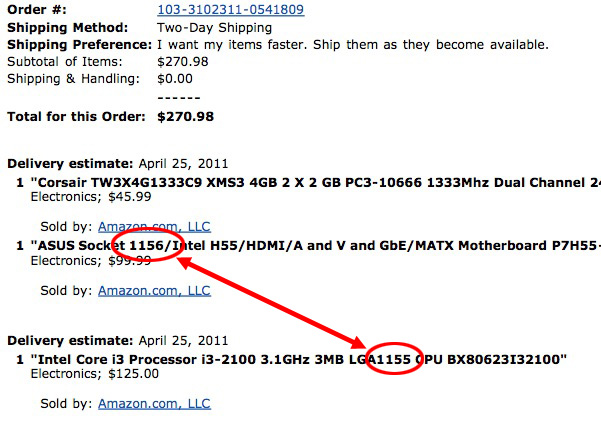
As previously mentioned, there was a slight hiccup in my ordering: the motherboard I’d ordered, which is perfectly compatible with the Intel i3 CPU I ordered, isn’t compatible with the Intel i3 CPU I ordered.
Confused? I was, too.

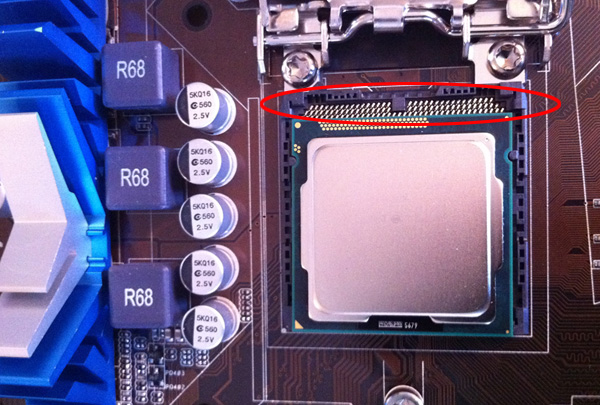
It turns out that there are slightly different builds of the i3, some designated 1155, and some designated 1156. These two versions of the i3 chip have different pin configurations, and are completely incompatible with each other. It turns out I’d ordered an 1156 motherboard, and an 1155 chip.
Someone doing a little more research than I’d done might have figured this out… or maybe not. I’d actually cleared my order with a couple of practiced “build your own PC” guys who do this on a regular basis for fun, and they hadn’t known about it either. So… yeah. When the chip wouldn’t fit on the board the way it was supposed to, I did some more digging around on the Internet and eventually figured out what had gone wrong.

This, boys and girls, is why you keep the old packaging, at least until your machine is up and running. I printed out a return label from the Amazon website and sent back the CPU, and ordered the correct one to replace it. A week later, I was again ready to start building.

Follow the instructions on whatever website you’re using to guide you in this process. My workflow went like this:
- Unpack case and power supply, and install power supply in case, using instructions included with case.
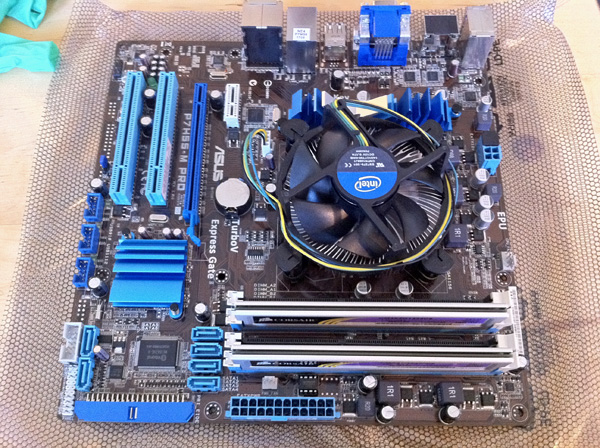
- Unpack motherboard and CPU. The instructions included with your motherboard will be awesome! Use them! Find latex gloves (from an old first aid kit) to wear while handling the CPU, or be really, really careful to only hold it by the edges. Install CPU on motherboard.
- Install heatsink over CPU.
- Install RAM onto motherboard.
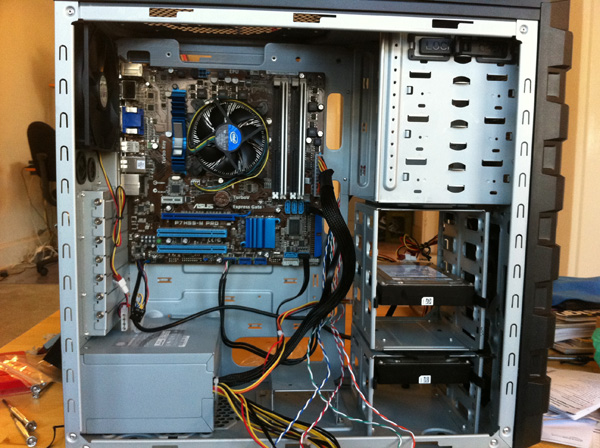
- Install motherboard into case.
- Install drives (CD-ROM, hard drives, etc) into case.
- Attach cables from power supply to motherboard and drives.

Theoretically, the computer is ready to go at this point, but… something almost certainly went wrong. A cable attached incorrectly, or a switch on the motherboard that’s in the wrong position. Who knows? Don’t close up the case completely just yet…!
- Attach monitor, keyboard, mouse, and power cable to the back of the computer.
- Power monitor on, then computer
- Play with BIOS as required for your system, following the instructions included with your motherboard.
- Install operating system of your choice, typically by booting from a CD, DVD, or USB install disk.
In my case, I ended up installing Ubuntu 10.04 LTS on my computer; this took another hour or so to run through the install process. Followed by an additional hour or so installing updates. If you’re installing Windows, make sure that you also install anti-virus software (AVG is probably the best of the free ones, although you’ll have to search around a bit on the site to get the free version, and not the “free trial”).
And over the course of the next few weeks or so, as I used the machine, I ended up installing additional software on there, as well as copies of all the files on my laptop. That was the original intent of this machine for me, after all: to backup my current computer, and archive other files that I want to hang on to.
Something I’d strongly recommend that you do immediately: create a small text-file on your computer that you use to keep track of software installs, modifications to the machine, etc. Every time I install a new piece of software, I write down the date, the software, and the license key if there is one. Having a list of all the software and modifications to your machine will be invaluable in case of trouble, and can be used as a resource when you end up moving to a new machine at some point in the future.