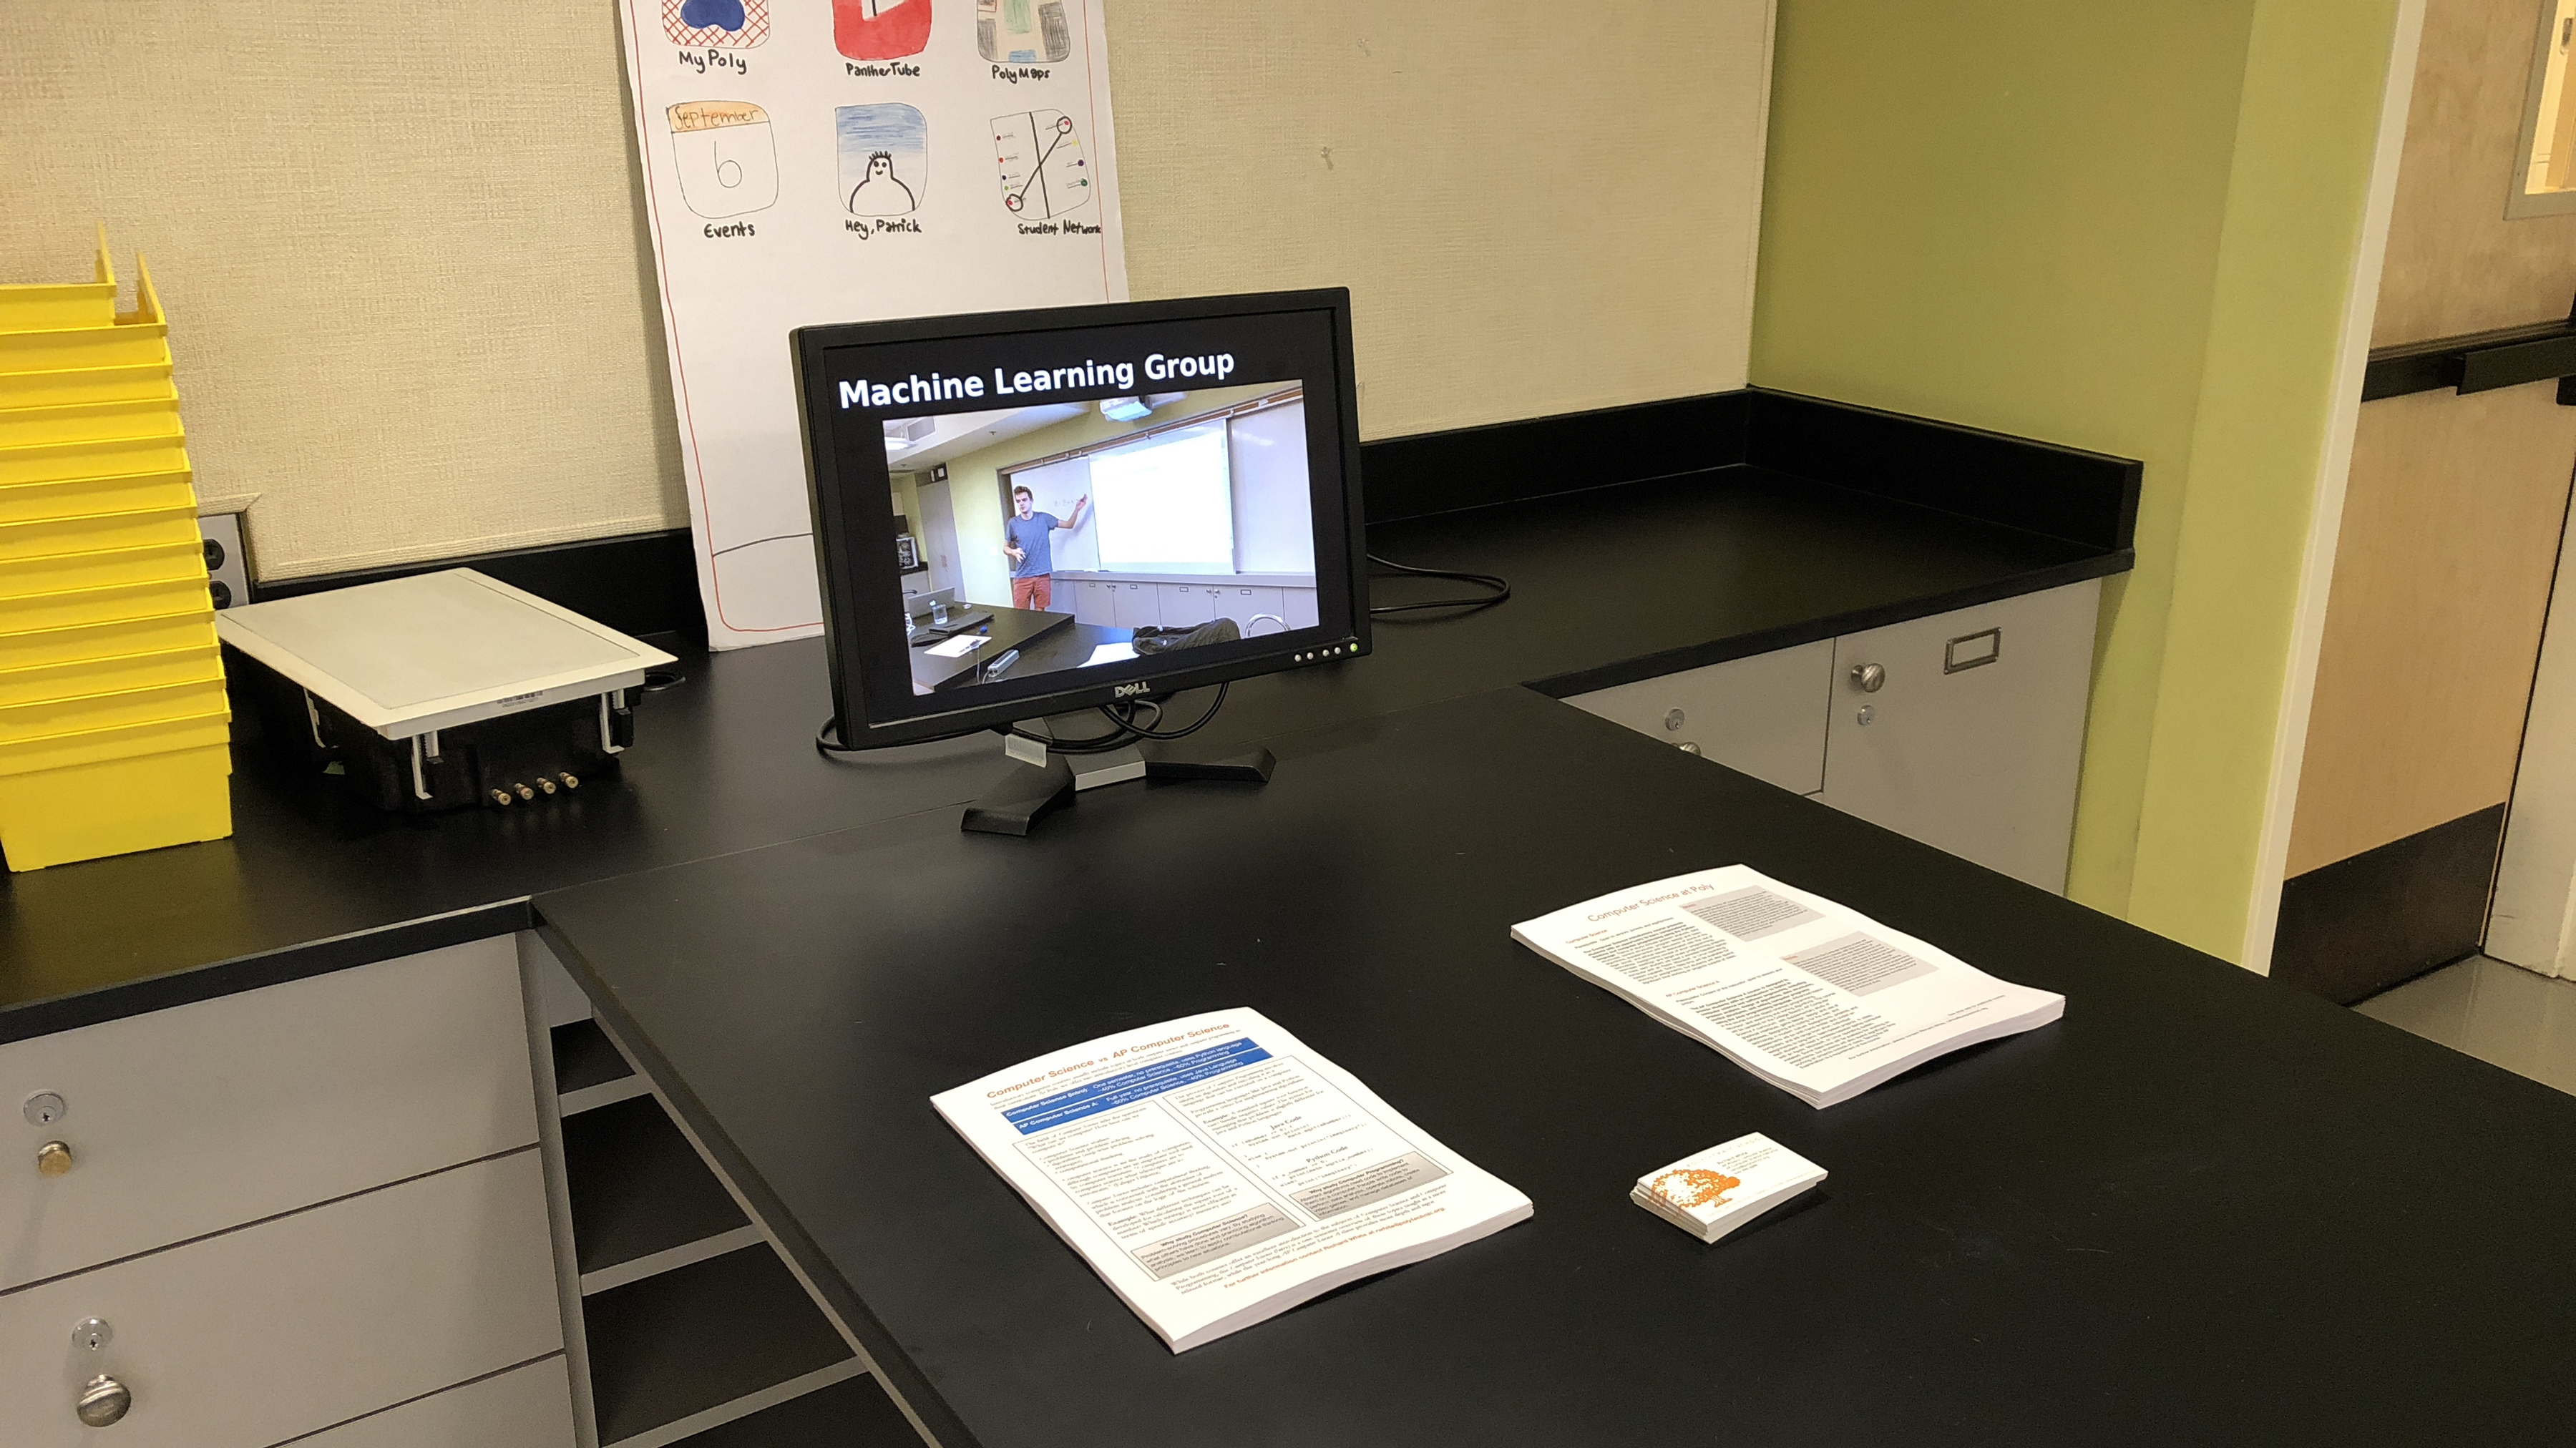
If you’ve got a Raspberry Pi lying around and you were wondering about what you might do with it, consider using it to drive a presentation kiosk.
This post doesn’t describe how to set up a Raspberry Pi from scratch. Getting a new Raspberry Pi up and running requires a collection of materials and a bit of time, which is the price one pays for being able to buy a $35 computer. There are a wide variety of tutorials on the web describing how to make that happen, including this YouTube presentation by yours truly.
Assuming you’ve already got your Pi running, though, here’s how you can set up a presentation kiosk that will cycle through a slideshow.
1. Create and test your presentation using LibreOffice Impress software. You can do this on a separate machine running LibreOffice or on the Raspberry Pi itself. You’ll want to set up the slide transitions and the presentation repeat. (Also, if you’re using images in your presentation, be careful of using high-resolution images. I’ve had presentations choke to a halt when given too many high-res images to present.)
2. Using the terminal, download and install xscreensaver.
$ sudo apt install xscreensaver
This is the only way most people have found to reliably keep the screen from sleeping while you’re using your Raspberry Pi in a kiosk mode. Once the software is installed, you can disable the screensaver in the Accessories settings.
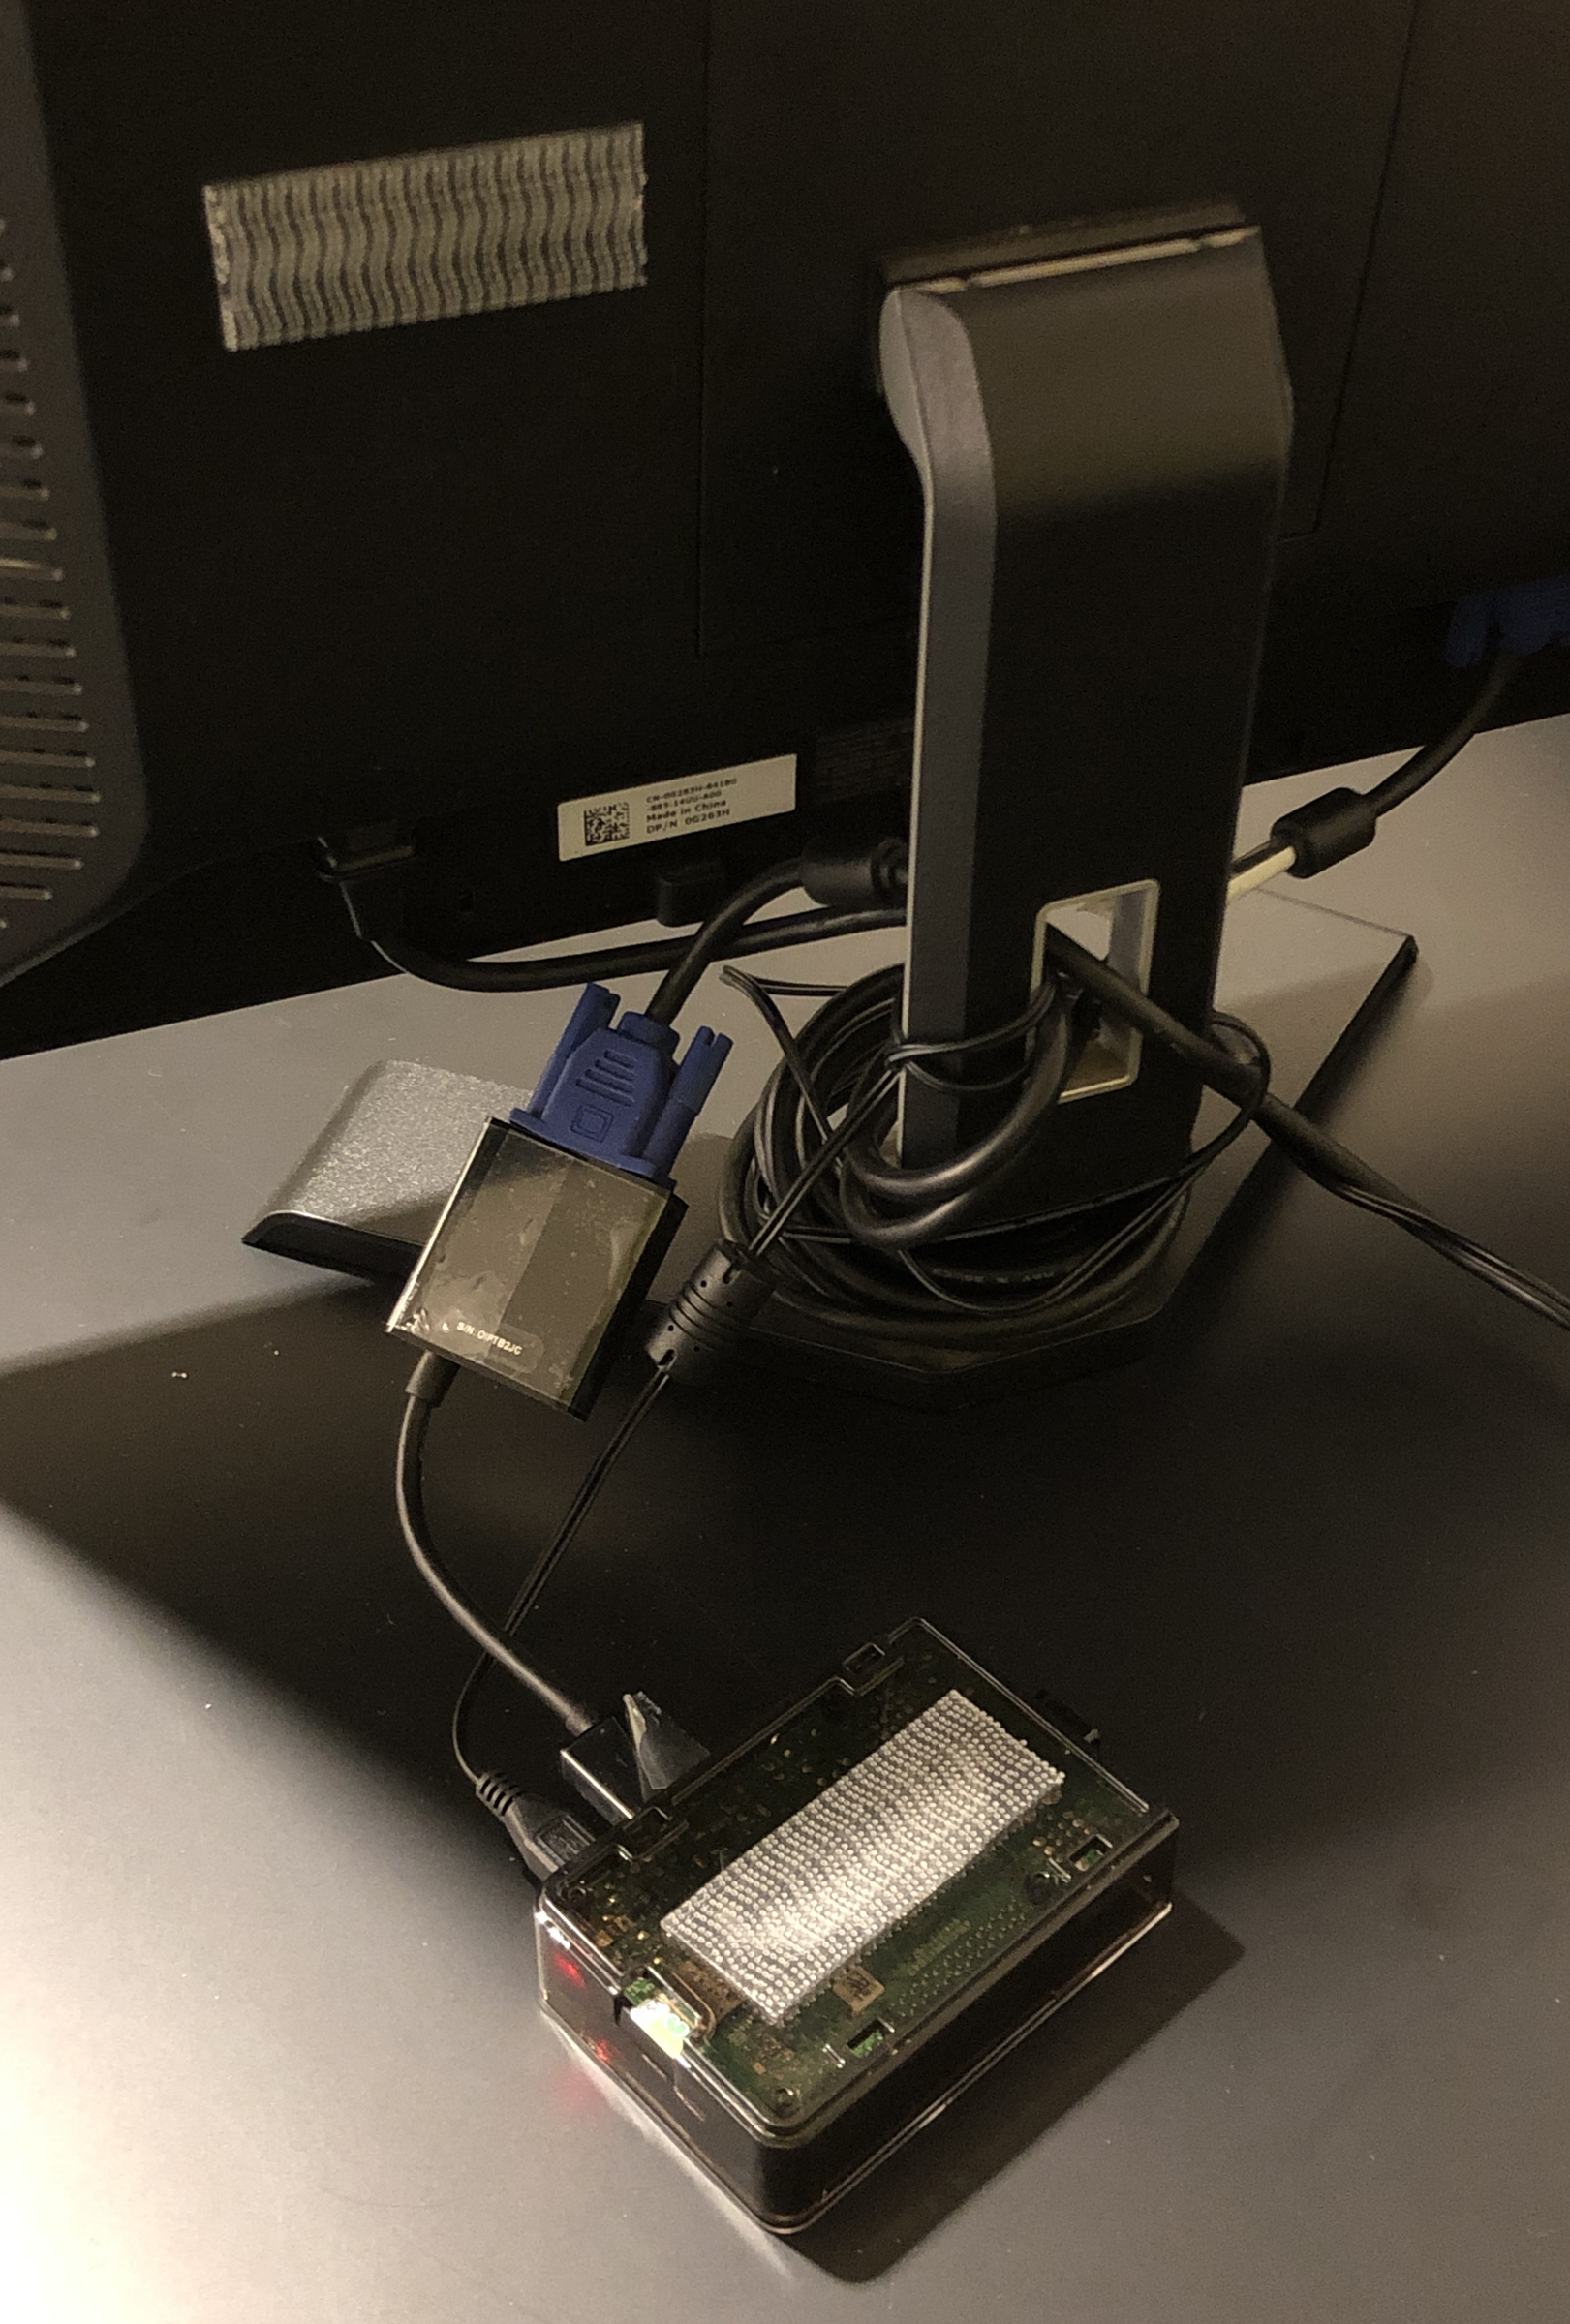
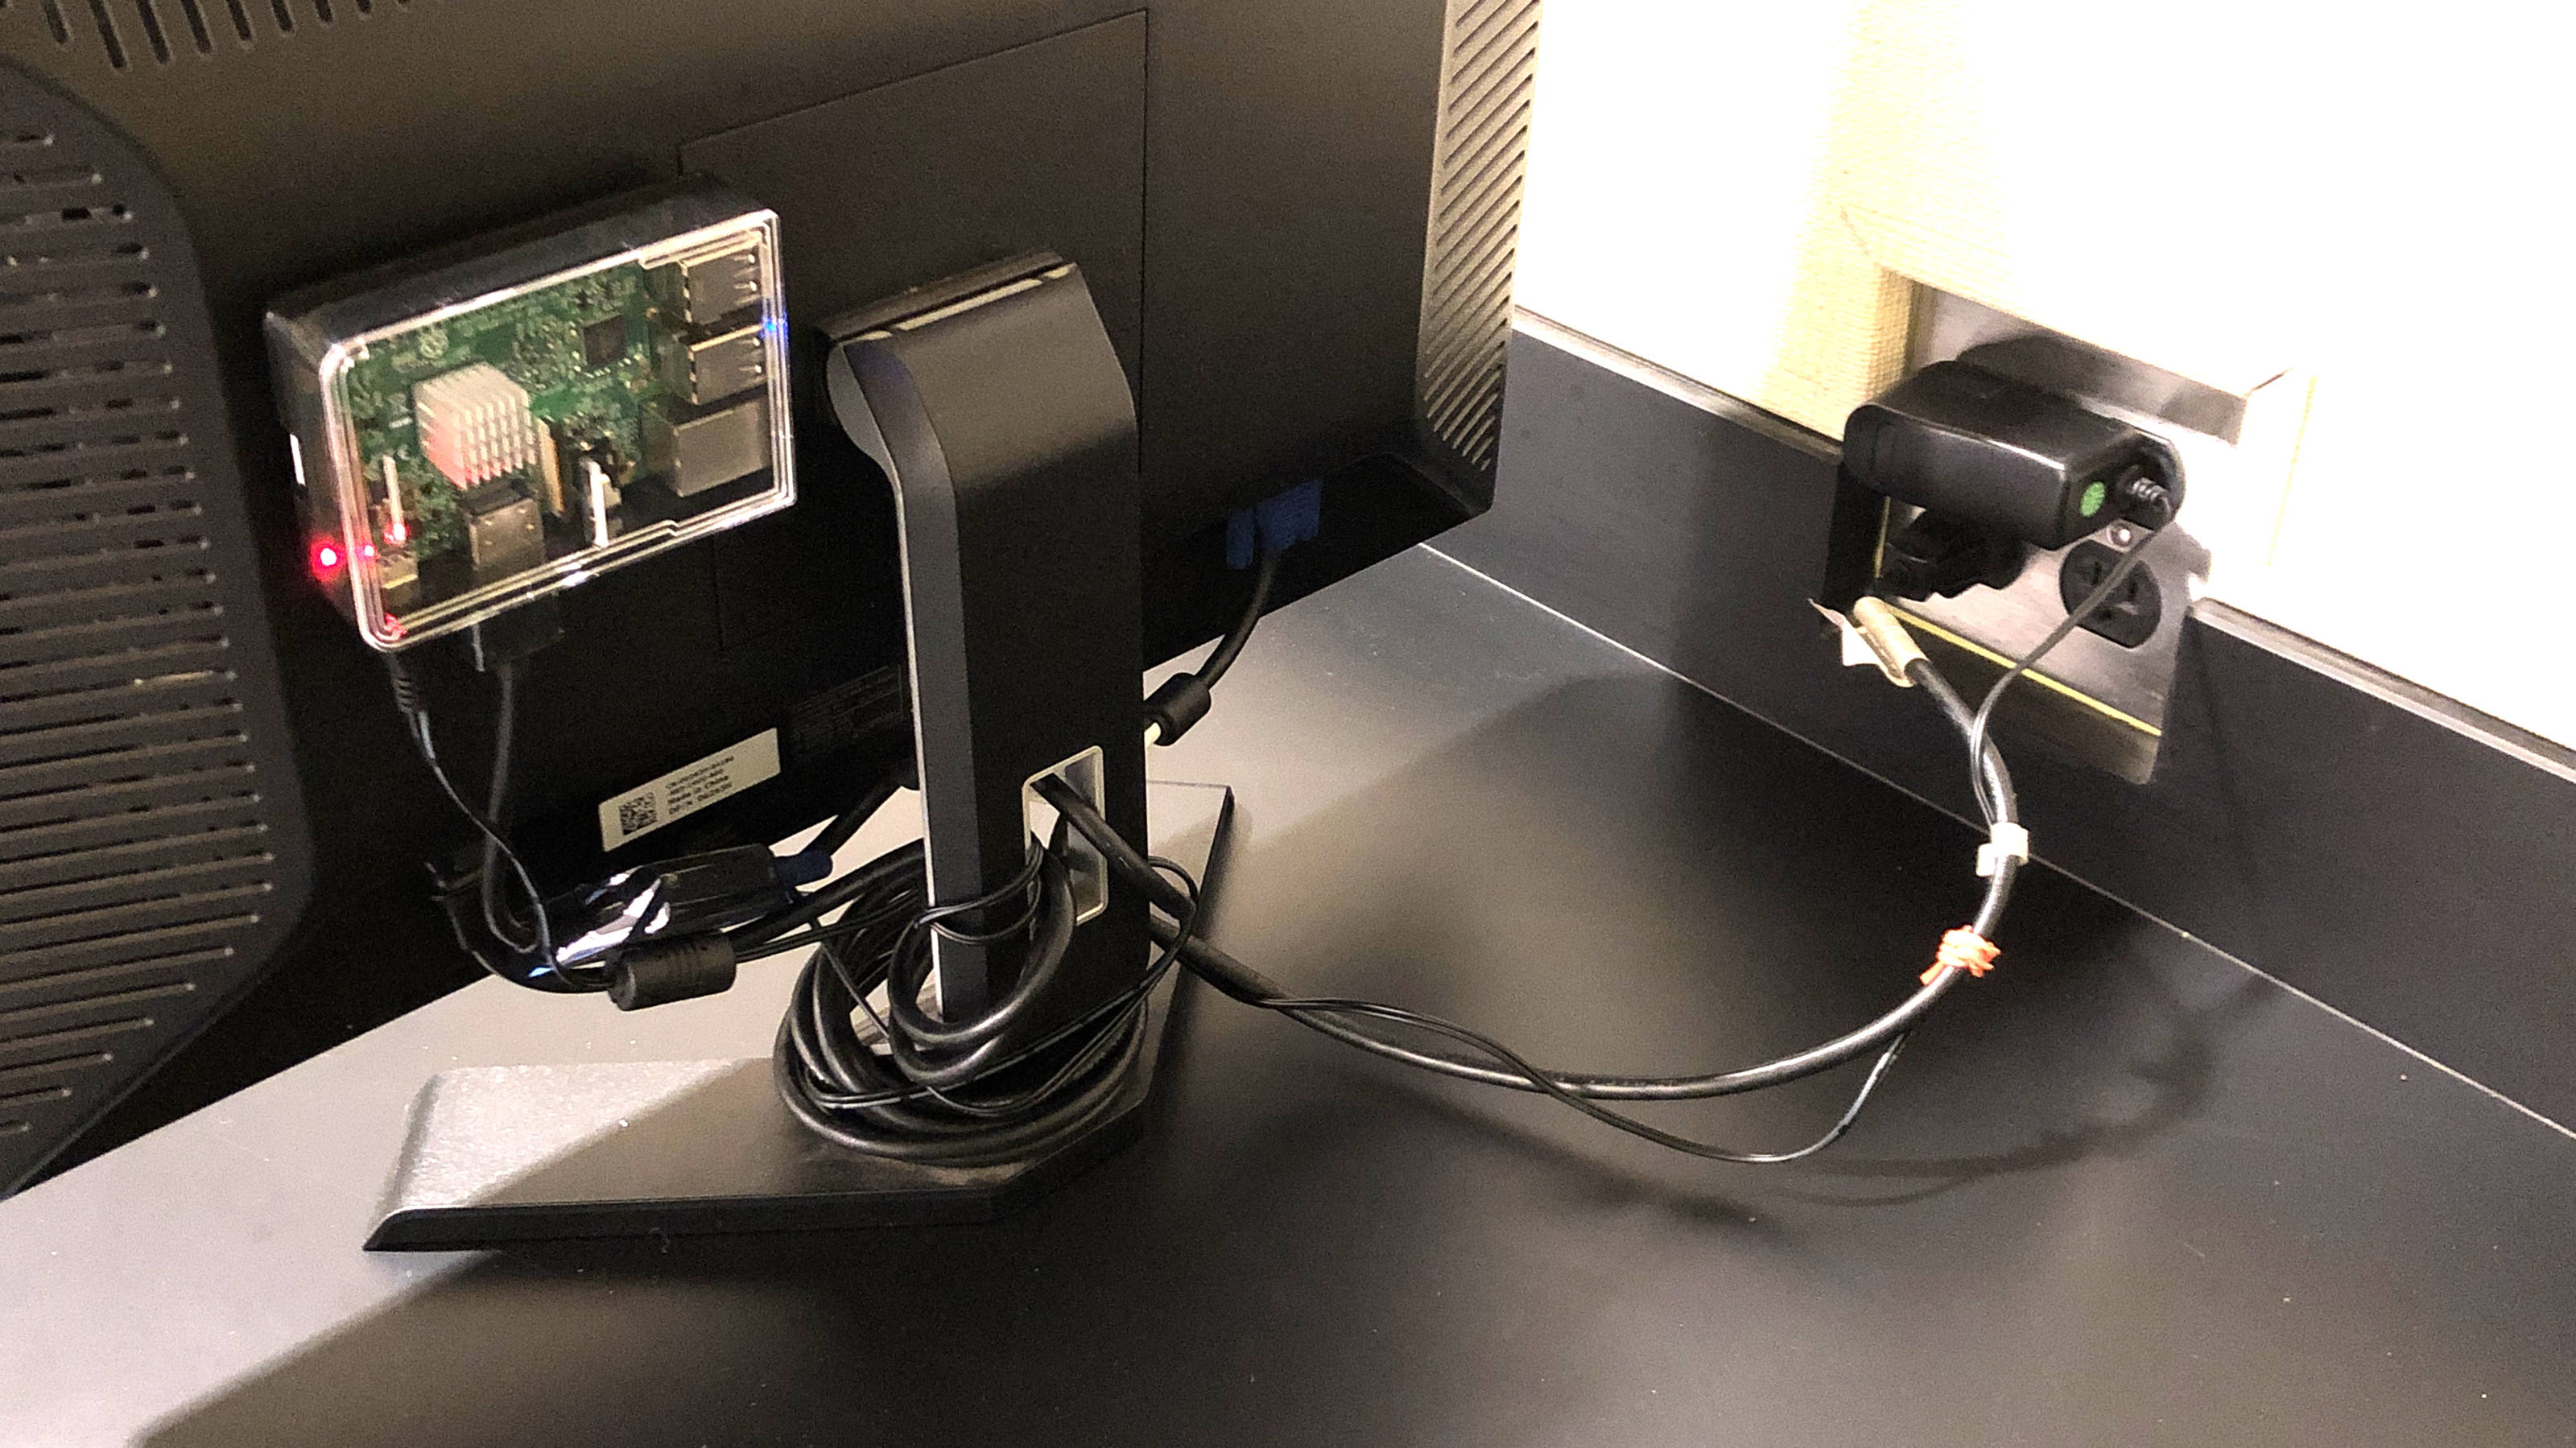
3. The system is now effectively running as a kiosk, although you have the Raspberry Pi, the mouse, the keyboard, and a tangle of wires all over the place. To clean things up a little, get some 3M Dual Lock reclosable fastener tape and put one strip on the Pi housing and one on the back of the monitor. You can attach the Pi to the back of the monitor now, and get it up and out of the way.
4. Once you’ve got the display set up and running in a desired location, go ahead and unplug the keyboard and the mouse from the Pi. That way it will be harder for the presentation to be accidentally interrupted.
What can you use this project for?
- Showcasing student work
- A vehicle for student investigation of the Raspberry Pi or Open Source software
- Presenting program information to visitors at Open House or Back-to-School night
Materials
- Raspberry Pi with requisite accessories: SD/MicroSD Memory card (16GB, Class 10), power adapter, monitor adapter (if needed), plastic housing
- LCD Monitor, Mouse, Keyboard
- 3M Dual Lock Reclosable Fastener SJ3560 250 Clear